
I got my hands on a solar charge controller, I had no idea what the load section did or how to configure dusk to dawn features. After some trial and error, I learned that this small electronic device plays a massive role in any off-grid or hybrid off-grid solar setup.
A solar charge controller sits between your PV arrays and your batteries, carefully managing current and voltage to protect your system. It safely charges and maintains your battery at a high state of charge without overcharging it.
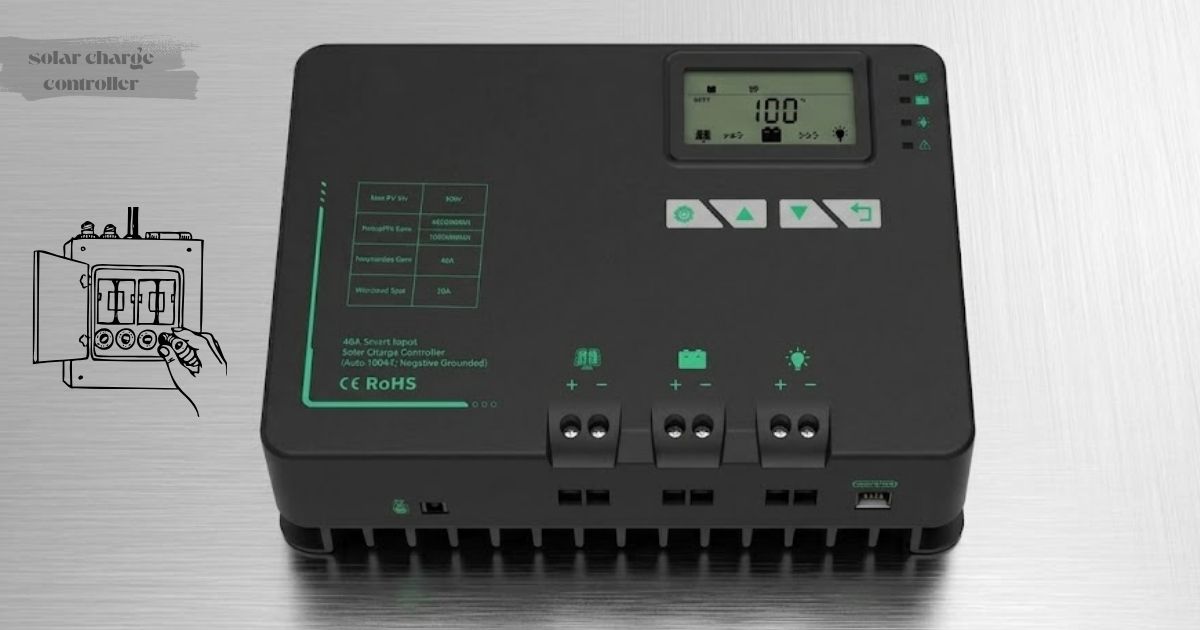
People also call this device a solar charge regulator, and it handles electrical loads like lights, fans, monitors, surveillance cameras, telecom equipment, and process control equipment with ease.
A poor-quality controller can trigger battery failure and bring your entire off-grid system to a shut down, while a reliable one extends battery life significantly. This device handles everything from a simple 30-amp setup to complex multi-panel systems.
What is a Solar Charge Controller?
A solar charge controller is an electronic device specifically designed for off-grid and hybrid off-grid power systems where stable energy management matters most.
It sits between your PV arrays and batteries, regulating both current and voltage to ensure your system runs efficiently. Without it, unregulated power would damage your electrical loads and reduce your overall system performance dramatically.
Critical Battery Protection and Regulation
This device safely charges your batteries while keeping them at the right high state of charge at all times. It also protects against overcharging, which can cause gassing, battery damage, and ultimately battery failure.
Safeguarding System Loads
The controller manages electrical loads including lights, fans, monitors, surveillance cameras, telecom systems, and process control equipment all from one centralized unit. A reliable unit keeps your off-grid system running without interruption, while a poor quality one can shut down your entire setup and shorten battery life considerably.
What Does a Solar Charge Controller Do?
A solar charge controller works hard inside off-grid systems to keep batteries at their highest state of charge without pushing them into dangerous overcharging territory.
Overcharging leads to gassing inside the battery cells, which causes irreversible battery damage over time. Preventing this single issue alone makes the controller one of the most valuable components in your entire solar setup.
Protecting System Loads from Power Spikes
Beyond protecting batteries, the controller delivers the correct current and voltage that matches the rated capacity of your electrical loads at all times.
If you connected your PV array directly to your loads without a charge controller in between, the excess power would instantly destroy both your batteries and your loads. The controller acts as the gatekeeper that prevents this from ever happening.
Optimizing Lifespan Through Power Balancing
Think of the controller as the brain of your solar system, it reads what your batteries need, monitors what your PV array produces, and feeds just the right amount of power to your loads at the right time.
This careful balancing act helps prolong battery life far beyond what an unprotected system would ever achieve. Every amp that flows through your system passes through the controller’s careful management first.

How Does a Solar Charge Controller Work?
Core Regulation Technologies (PWM vs. MPPT)
Solar charge controllers use either pulse width modulation (PWM) or maximum power point tracking (MPPT) technology to regulate the flow of current and voltage from your PV arrays to your batteries and electrical loads.
During daylight hours, the controller actively safely charges the batteries while simultaneously powering connected loads. Once the evening arrives and sunshine disappears, the battery bank takes over and powers your electrical loads through the night.
Built-In Electronic Safeguards and Fault Alerts
The controller includes electronic protections that guard against nighttime reverse current, short circuiting, high voltage spikes, high temperatures, and battery reverse polarity all of which can permanently damage your system.
Some units also feature low voltage disconnect capabilities that cut power before your battery drains too deeply. LED warning lights on the unit alert you immediately about installation errors and active faults within the system.
Power Flow in DC Load Configurations
In a DC load setup (direct current), sunlight hits your solar modules, which convert that energy into DC electrical power and send it to the charge controller.
The controller then manages amperage and voltage delivery to your loads, sending any surplus power into your battery system to maintain its state of charge without letting it become overcharged.
The negative battery terminal connects to a common negative ground shared across your solar array, controller, battery, and load satisfying NEC code requirements for grounding throughout the entire installation.
Integrating Inverters for AC Loads and Safety Disconnects
For an AC load setup (alternating current), the system adds an inverter that converts DC power from the battery into AC power suitable for standard household appliances, as shown in Figure 2 of the off-grid diagram.
The inverter connects directly to the battery rather than the controller’s load terminals because startup draws a high current surge that exceeds the controller’s rated capacity but falls within what the battery can handle safely.
Disconnect switches between all component’s battery, load, PV array, and controller enhance safety and simplify both installation and breakdown procedures.
Proper Enclosure Grounding
The equipment ground connects to any metal parts on the controller enclosure either through a dedicated terminal lug or directly to the enclosure itself on models without one.
Always follow the correct connection sequence battery to controller first, then PV array, then load and always reverse that sequence when disconnecting. This sequence protects both the equipment and the installer during every installation and breakdown situation.
How to Connect and Configure the Controller (10R / 20R)
Setting up a 10R or 20R controller follows a specific sequence that protects both your equipment and yourself throughout the entire process.
First, connect your battery by matching positive and negative poles correctly, then wait while the controller begins to identify automatically and reads your battery capacity on screen. Once the load indicator light turns on, you can move forward and configure your battery type and parameters with confidence.
Navigating the Controller Menu
Use the three buttons menu key (left), up key (middle), and down key (right) to navigate through all settings on your controller. Press the menu key to switch between control functions, press it continuously to reach battery setting mode, and then long press to enter the full settings menu.
Inside the battery mode screen, the up key and down key let you scroll through all available battery mode options from B01 through B07.
Selecting Battery Chemistry Modes
The available battery mode options cover every common battery chemistry B01 for sealed, B02 for GL, B03 for flood, B04 for Ion Lithium 4 strands, B05 for Ion Lithium 5 strands, B06 for Lithium Ion 3 strands, and B07 for Lithium Ion 4 strands.
Select the option that matches your battery chemistry exactly, then long press the menu key to save and return to the main screen. A steady battery indicator light means your controller runs in direct charge or lifting charge mode, while a slow flash indicates floating charge mode is active.
Finalizing DC Load and Solar Panel Installation
After configuring the battery settings, connect your DC load carefully to the controller’s load terminals while staying alert for any electric spark that can occur during wiring if you rush the connection.
Once your load is secured, connect your solar panel to the controller’s PV input terminals following the correct positive and negative polarity on your PV panel. Your wire gauge and load equipment must match the controller’s rated capacity to ensure safe, long-term operation and maximum energy harvest from your system.
Buy the World’s Leading Solar Charge Controllers
Morningstar builds some of the most trusted solar charge controllers on the market, and their reputation comes from decades of proven performance in the most demanding environments imaginable.
Their lineup covers both PWM and MPPT technologies, giving you reliable electronics for virtually any scale of off-grid solar application you can think of.
Engineers and installers in the oil and gas industry regularly choose Morningstar because many of their controllers carry full certification for hazardous locations where standard equipment simply cannot operate.
Morningstar Controllers
Beyond the oil and gas industry, Morningstar controllers deliver consistent results in telecommunications, mining, security, and transportation sectors worldwide. These are not consumer-grade devices, they are built for mission-critical users who cannot afford downtime in any challenging solar application.
The fact that their electronics power the largest off-grid solar residential project in Peru, delivering electricity to over 200,000 homes, speaks directly to the scale of trust the industry places in this brand.
Whether you need a single unit for a remote cabin or a full deployment across an industrial site, a Morningstar distributor near you can match the right controller to your exact project requirements. Investing in a quality solar charge controller from a trusted name like Morningstar protects every other component in your system for years to come.