

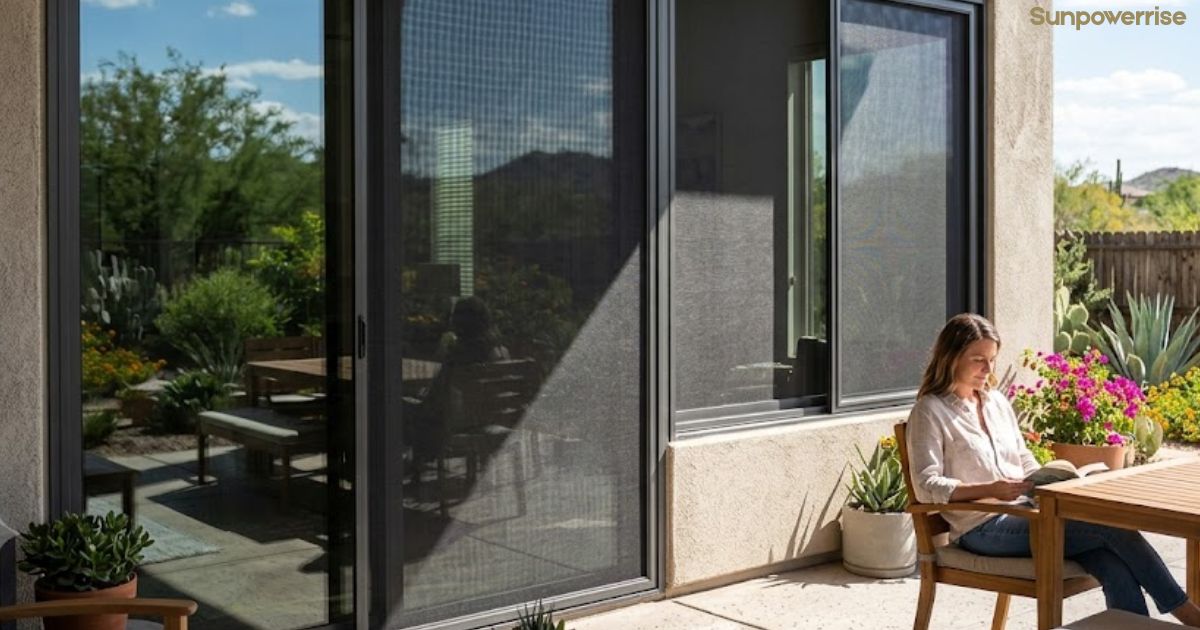
A good solar screen is a modern window treatment that handles sun exposure without demanding total privacy, and it gives real UV protection during the hottest months, which is why so many homeowners call it the ultimate summer window treatment.
In fact, solar shades share the same basic idea with solar screen, cutting glare while letting you enjoy the outdoors. Setting one up is easier than it looks. Gather a screen frame, spline, springs, pull tabs, a screen roller, a utility knife, and work through the installation step by step, fitting each piece into the corners until the frame feels solid. Because these shades are energy efficient, you’ll notice the difference on your bill almost right away.
Fabric Openness & Visibility of Solar Screen
Picking the right fabric for your solar shades starts with openness, a rating that shows how tight the weave sits across your window. Blinds To Go sells fabrics with openness running from 1 all the way to 10, and that single number shapes both transparency and opaqueness at once.
A 1 percent openness shade has a tighter weave, so it keeps more sun blocked and gives you more privacy, though you trade away some visibility and end up with less view and less light indoors.
Flip to a 10 openness fabric, and the story reverses: you get increased visibility, more light, and the best view of the outdoors, at the cost of a bit less coverage from sun glare.
Most homeowners settle in the middle ground, and a 3 to 5 percent openness fabric has become the most popular pick because it holds a higher percentage of glare protection while still offering a good view.
If you’re stuck between a lower percentage and a higher percentage, order a few samples, since holding actual swatches up to your own window shows the real gap between less visibility and a clearer look outside far better than any description can, and in the right light, the decision usually becomes obvious.
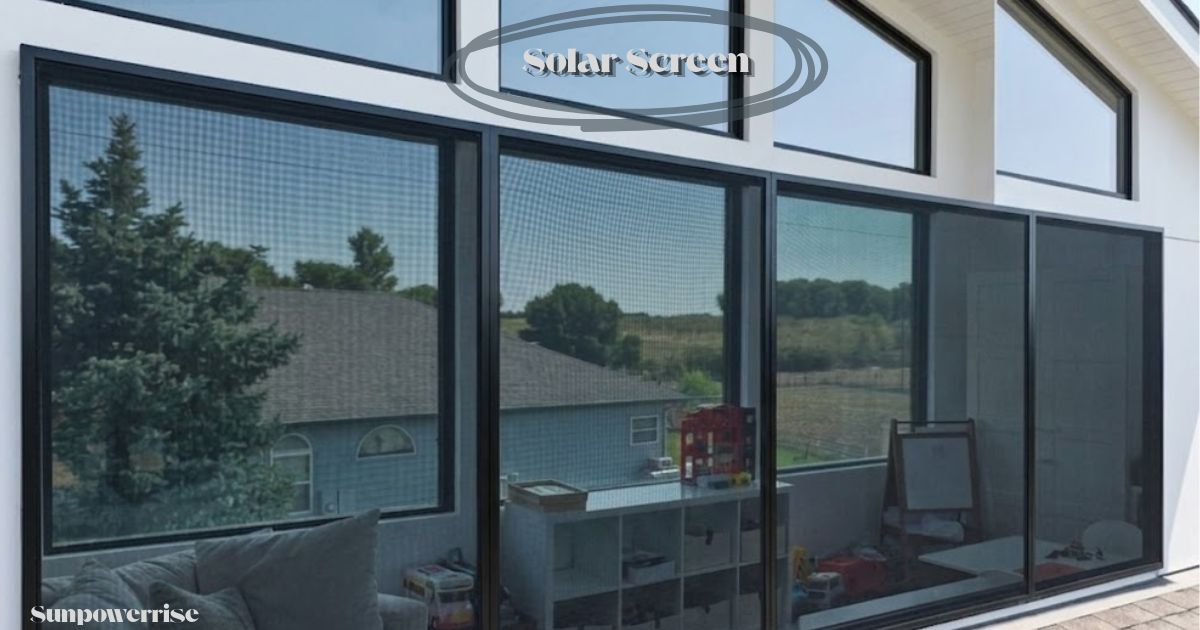
Privacy Trade-Off
Every solar shades buyer should understand one honest trade-off: light blockage and heat reduction come at the price of nighttime privacy.
During the day, an outside view stays clear enough for you to watch the street, but once the sun goes down and lamps switch on inside the home, the reverse becomes true, and anyone outside can see in just as easily as you saw out. This is worth real consideration before you buy, especially if privacy at night matters to your household as much as staying cool does.
Microban Anti-Microbial Technology
Some fabrics carry Microban anti-microbial technology built right into the weave, and I’ve found this small detail makes a real difference over the years.
This protection guards your window shade against stains, mold, mildew, and odour-causing bacteria, keeping the everyday microbes that build up near a sunny window from taking hold in the first place.
Assembling the Frame
Assembling a frame starts with the corner pieces that come with your kit, and you build outward from there, making sure the spline channel sits on the inside of every frame piece all the way around.
If you’re using leaf springs or tension springs, slide them into the top frame piece first, along with pull tabs on the opposite side, though other mounting methods skip this step entirely.
Lay everything on a flat surface, tape down the corners with masking tape so nothing shifts, check the window fit and make adjustments to the size while you still can, and if your kit includes a centre bar, connect it using a centre bar clip before you continue, and if not, a book of similar thickness works just as well to hold everything steady.
Fitting & Rolling the Screen
Once the frame lies flat, roll the screen across it, leaving at least a half-inch of excess screen material hanging past the spline channel on the back, then run your hand over the top to smooth wrinkles before setting a gallon jug of water in the center to hold everything in place.
Take the roller tool and, using its non-grooved edge, start at the center of each side and work the screen into the channel toward every corner, repeating the same motion across all four sides and corners.
Switch to the grooved edge and use the spline roller to press the spline in from one corner all the way around, then go back over the whole frame once more to check spline seating and make sure nothing has come loose.
Trimming
Finish the job by trimming the excess spline with a utility knife, then switch to a sharp utility knife to cut away the excess screen fabric, angling your blade at a 45-degree angle just above the spline line.
Once that last cut is done, the screen sits installation-ready, clean, tight, and ready to go into your window frame.
Mounting Methods & Brackets
Mounting a solar screen comes down to a few reliable choices: springs with leaf springs or tension springs, a spline-based fit, or simple brackets and clips.
For a vinyl frame, place each clip along the side of the weep hole, flush with the drain so water can still drain properly, and this works well on a standard 7/16 inch frame.
You can also screw straight through the frame edge for a permanent hold, or rely on the clips and pull tabs if you’d rather remove screens easily to clean windows without any extra hassle, so pick whichever of these mounting methods matches how often you plan to take the screens on and off.
FAQs
Do solar screens really work?
Yes, solar screens genuinely help with heat reduction and UV protection, cutting sun glare while still letting you enjoy the outdoors.
How expensive are solar screens?
Cost depends on your fabric choice and openness level, but most solar shades are an affordable, energy-efficient investment that pays off over time.
How to make your own solar screen?
You’ll need a screen frame, spline, springs, pull tabs, and a screen roller — then follow the installation step by step for a solid frame fit.
How long do solar screens last?
With proper care, a quality solar screen can last for years, especially when the fabric includes protection like Microban anti-microbial technology.
Do solar screens reduce electricity bills?
Absolutely, because they’re energy efficient, solar screens ease the load on your cooling system, and that comfort really does show up in your bill.