

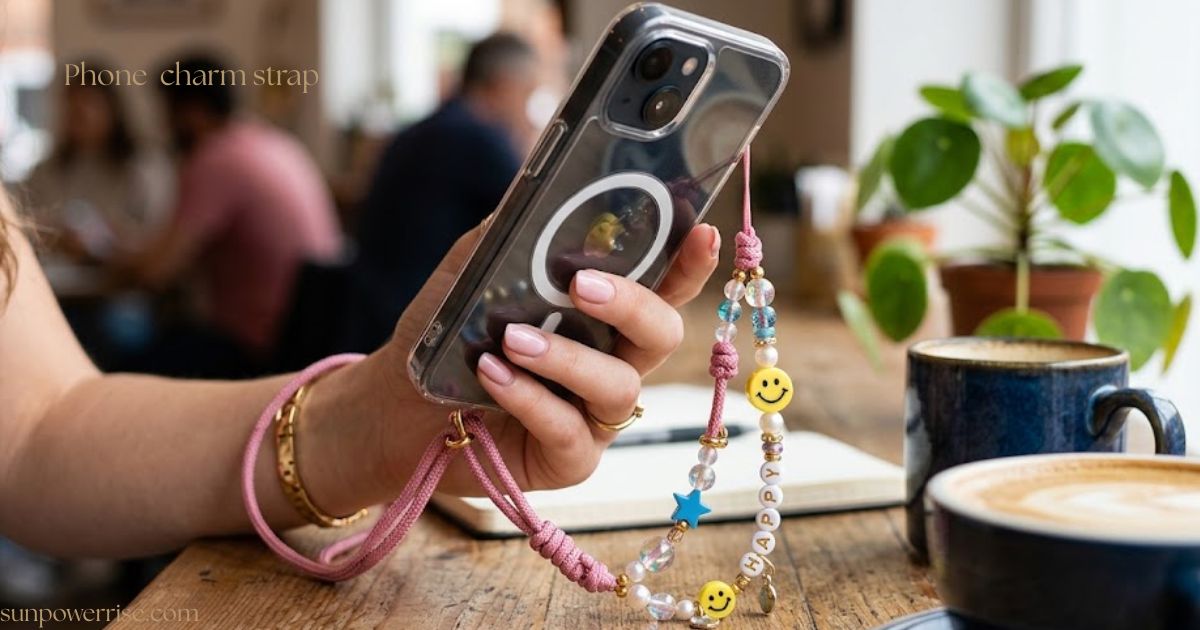
Phone charm strap projects pulled me in the moment I first tried making a custom phone strap at home, and I picked up cheap beads from a Daiso shelf just to test the idea.
Every good tutorial starts with picking the right materials, and I learned fast that a nonstretchy cord holds up far better than a stretchy one when you’re making a phone charm that hangs off your hand all day.
Some crafters order kits from Panda Hall Selected, since these often include extra options and a clear description of what’s inside the pack, along with helpful links to more supplies. Whether you call it a phone strap or a phone lay, the process stays the same.
This guide also covers a simple how to make a phone strap approach for anyone who prefers a slower pace, plus ideas for a phone wrist strap if you want something that loops around your hand instead of dangling loose.
Materials Needed For Phone Charm Strap
Before I start any project, I lay out my materials so nothing gets lost halfway through. For a basic build, cut 25 in of nonstretchy cord, then gather your assorted beads or your favourite beads of choice, since a solid bead kit gives you plenty to work with.
I like adding a cone-shaped crystal bead as the centrepiece, alongside a crystal bead in size 4 or a bigger one in size 6, plus a black stone bead and a butterfly-shaped bead for extra texture. If letters matter to you, drop in a few alphabet beads so your strap spells out a name or word.
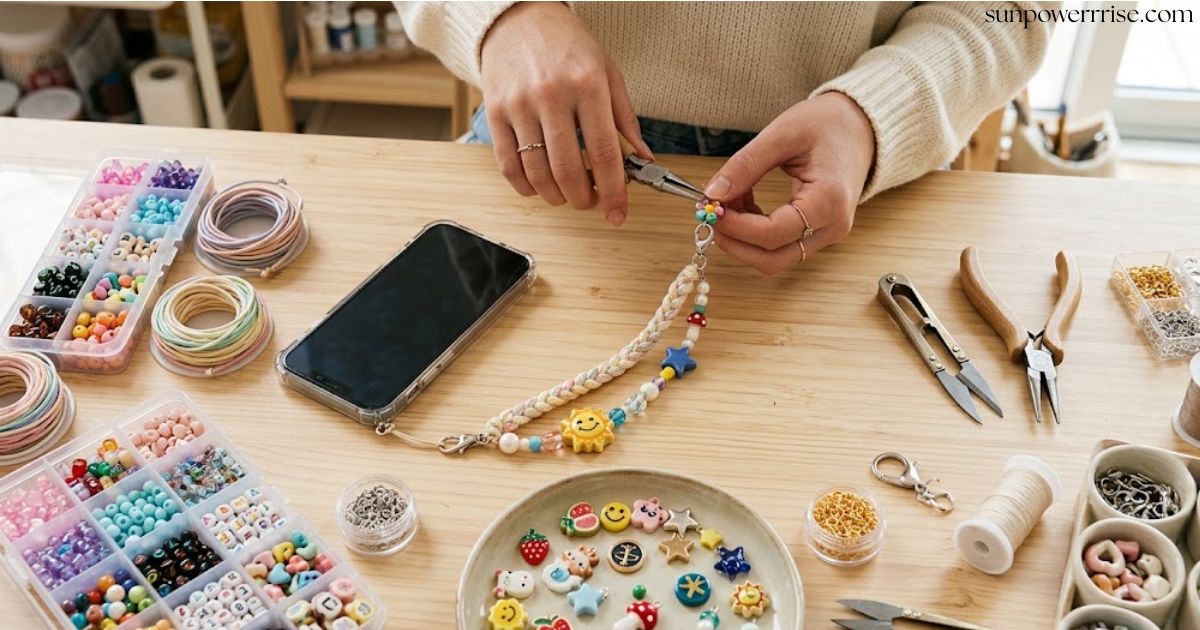
Add oval jump rings to connect the pieces, and if you want extra sparkle, thread on real freshwater pearls, similar to what you’d see on a Samsung crossbody phone case with pearl strap design.
A head pin lets you dangle a puffy heart charm at the end, which stays entirely optional, and a dab of nail polish locks your knots down for good. Slide your finished strap through a foam phone case so it sits ready to attach this step works just as well if you’re starting from a phone case with strap already built in.
Tying the Initial Knot
The very first knot you tie sets the tone for the rest of the build, so take your time here. Keep the upper part of your strap under 3 in, since anything longer bunches up awkwardly near the top of the phone.
I remember filming my own attempt and getting it wrong the first time; I accidentally made the loop too small, and it wasn’t big enough to slip beads through later.
On my second time trying, I made sure one side stayed long while the other stayed short, and I used a longer rope so I could gently burn the end and seal it clean. A rope that’s slightly smaller can still work, but I found a long loop looks nicer once you attach the beads and let the whole thing hang naturally, no matter whether you’re building a plain phone charms strap or a fancier version.
Dropping the Beads
Once your knot sits ready, the real fun of beading begins. Start by choosing how you want to string each bead, since some people like a planned rainbow order while others prefer dropping them randomly for a more relaxed look.
Drop your main bead first, since this becomes the anchor, then add a cone shape bead, a crystal cone bead, a stone bead, or even a long black bead, mixing different types and shapes as you go.
Real pearls work beautifully too, especially if you want an elegant finish, and a beaded phone charm strap made this way always draws compliments. Once every bead finds its way to enter the design, snip off any loose thread, give the tips a light burn to seal them, and step back, because your strand now sits finished.
Securing the Ends
Securing the end of your strap matters just as much as starting it well. Tie several knots close together for an extra secure hold, then trim any excess thread or excess rope so nothing hangs loose. A dab of nail polish seals the final knot and stops it slipping once it starts to dry.
If your cord runs thinner, you can often hide the knot inside a bead, tucking it neatly into one of the holes. Burning the tip with a quick burn keeps the fibres from fraying, and a good, tight tie stops any loose beads from sliding around.
Check that every bigger bead sits snug before you call your phone layer ready to wear, whether it started as a simple phone strap charm or grew into something more detailed.
Attaching to the Phone
Now comes the satisfying part: watching your creation attaches to your device at last. Take the top knot you tied earlier and pass it through whichever hole your phone offers, since many cases include a small camera hole you can use instead of drilling anything new. Slide the long rope through first, guide it past the love shape bead you dropped in earlier, and make sure the tail can enter the loop before it fully enters.
Once that happens, pull the short rope through the same opening so both sides pass through evenly, and the cord sits snug inside the holes.
Trim any excess length, cut off the leftover thread near the end, and your charm now attaches firmly, ready for daily use proof that a homemade phone charm strap can look just as polished as a store-bought one.
FAQs
What is the phone charm strap called?
It’s commonly called a wrist lanyard, phone strap, or keychain charm, a cute accessory that hangs from your phone for style and grip.
Are phone charms still trendy in 2026?
Yes! Phone charms remain a trendy accessory, loved for their aesthetic appeal and ability to personalize your device.
What is the difference between a phone charm and a phone strap?
A phone charm is a decorative pendant or bead, while a phone strap is the wrist lanyard or cord that holds it and secures your phone.
What is the purpose of a phone charm strap?
It adds a stylish accessory to your phone while providing grip and security, preventing accidental drops.
Are phone charms still in?
Absolutely, phone charms are still very much in style, offering a fun way to express your personality through your device.
Do phone charms scratch your phone?
Most soft charms and silicone straps are safe, but charms with metal edges or rough beads may cause light scratches over time.