

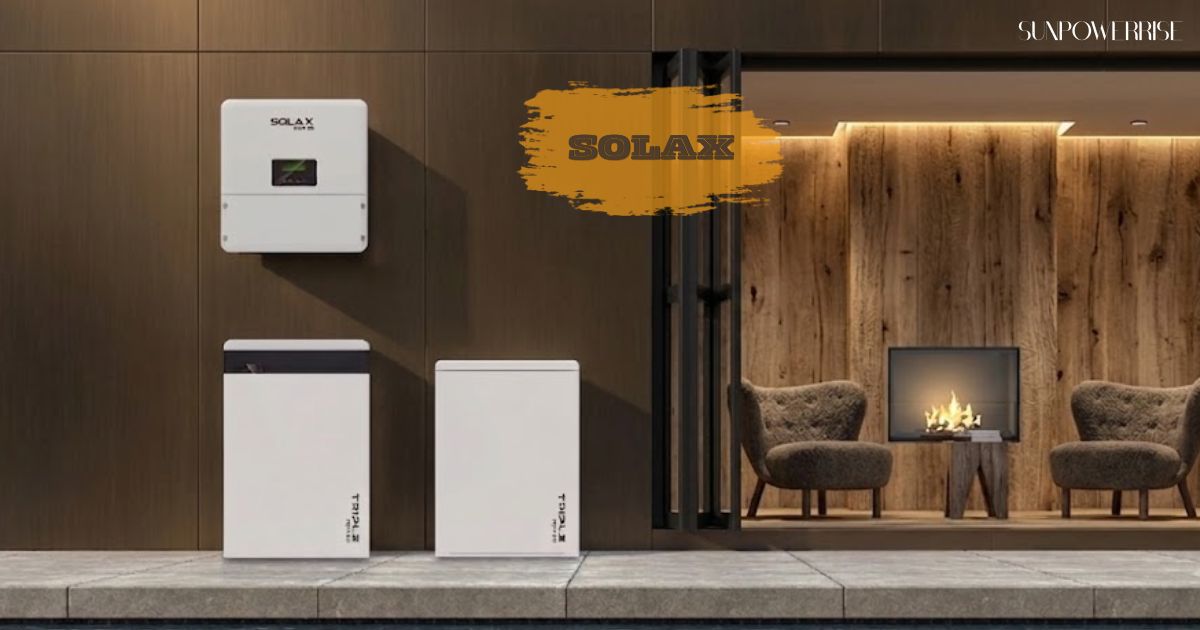
Solar power feels like magic the first time you watch your meter run backwards, and after years of working with Solax gear, I still enjoy showing people how it all fits together.
Solax Inverter Fundamentals
This guide exists to make your first time with a Solax inverter feel simple rather than overwhelming. Once you install a solar PV system, the inverter changes the AC from your solar panels into power your home can actually use, while the energy management system (EMS) quietly runs the show behind the scenes.
Picture the EMS as the brain of your solar X setup: it tracks grid power, battery stored energy, and your house demand around the clock, in real time, through both day and night.
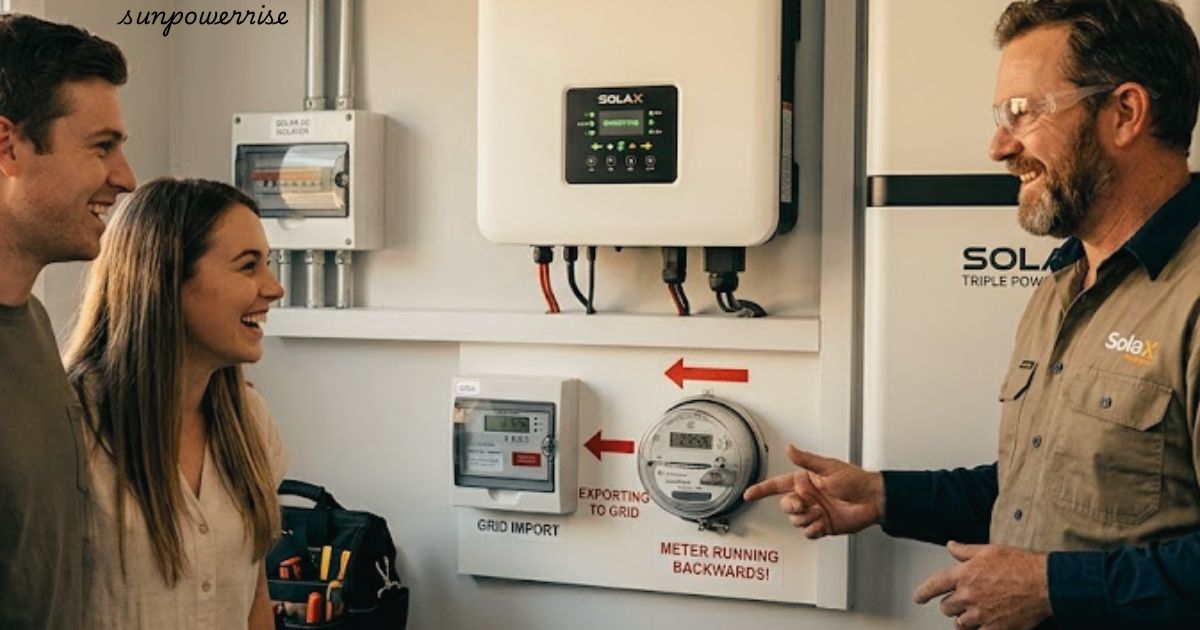
Instant EPS Backup
A CT sensor watches your household consumption and load continuously, ready to alert the system and activate the emergency power supply (EPS) so it can automatically supplement your power at home the instant the grid drops. During daylight hours, the panels’ generation often exceeds what the house needs right away, so nothing goes to waste.
Solar Priority & Energy Management Strategy
The EMS prioritises local consumption first, distributing electricity to whatever is running, then storing the surplus energy in batteries for later use.
Once solar panels cease to produce energy at dusk, the batteries automatically fulfil the shortfall, and only once demand exceeds what they hold does the system pull extra supply from the grid.
Should the power go down entirely, backup-capable inverters and chargers keep the lights on without any manual switching.
Monitoring & App Setup
Step-by-Step Wi-Fi Initialisation
Getting your Wi-Fi connected is the first real task inside the application. Open the menu, and if you are already log in, tap log out first so you start fresh from the inverter interface.
Enter your password carefully, since Wi-Fi networks can be picky about typos, then let your phone join the local Wi-Fi network.
Dual-Band Innovations
One thing worth knowing about the network: it can run on either 2.4 gigahertz or 5 gigahertz frequency, and this dual feature is a genuinely useful Solax innovation, since older antennas could only manage one band. Larger sites sometimes rely on VLANs and LANs rather than a single home router.
Once connected, the user lands on the main application interface, which acts as a full monitoring system for usage details.
Under the Monitor tab, selecting Add End User lets you register a customer by entering an email address, site size, time zone, and location, then Add Device links the end user to their newly registered systems installed.
Commissioning the Client Profile & Device Association
Monitoring a high-voltage hybrid inverter through its Wi-Fi function means data uploads continuously to XCloud, viewable on the web or through the smartphone app in real time, covering working modes like self-use, backup, and feed-in priority, plus forced time use and current EPS status.
Anyone using the Solax Cloud app with an account or an installer profile will notice it feels more intuitive than platforms from other manufacturers, which is genuinely useful feedback both customers and installers give about the system.
Backup Power
Nobody thinks about essential loads until the lights flicker, but that’s exactly when this feature earns its keep. During power outages, your system can already be running in self-use or feed-in priority mode, and it switches smoothly into backup mode the moment the inverter senses power has gone down.
The CT sensor is what makes this instant: it sends an alert to the EMS, which will activate the emergency power supply (EPS), pulling stored energy from the panels and batteries to keep essential home circuits alive.
For anyone who lives somewhere the grid is unreliable, this basically means true off-grid confidence without giving up grid convenience the rest of the year.
Larger installations sometimes add a parallel connection system such as an X3 EPS parallel box, which lets multiple units share the backup load evenly. All of this is fine-tuned inside the Work mode settings menu of the system, so you decide exactly which circuits stay powered and for how long.
Battery Settings
System Access & Multi-Battery Wiring
Battery configuration is where small adjustments make a big difference to lifespan, so it’s worth slowing down here. Inside advanced settings, protected by the 2014 password, you’ll find the 20 or standard profile options for the inverter and charger.
The system needs to know whether four batteries, three batteries, two batteries, or just one battery is installed, and a zero-position dip switch can indicate the correct number, distinguishing slave batteries from the master battery when several are wired in parallel.
Capacity Flexing & The Longevity Sweet Spot
Running multiple batteries in the battery settings menu gives real flexibility, letting you tailor capacity to your household size. But battery life cycle and longevity depend heavily on avoiding extremes: leaving roughly 5-10% of headroom prevents unnecessary loss of capacity, which goes a long way toward preserving overall lifespan.
A battery that’s constantly fully discharged or fully charged wears out faster, so most installers set a sensible strategy somewhere between 5% and 95%, rather than chasing the full 100% to 0% range.
Threshold Limits & The “Set-and-Forget” Balance
That’s really what the upper limit and lower limit settings are for; they tell the inverter the exact percentage at which to stop discharging and stop charging.
Whether you’re deciding how much to discharge or charge based on the type and minimum capacity of your battery, sitting around 10% with a 90% depth of discharge ceiling is the balance most people configure once the battery is installed and never touch again.
Access to Settings
Getting into deeper settings is simpler than most people expect. Hold the power button on the inverter for about 10 seconds, and wait for the display to change over to settings mode.
From there, choose advanced to reach the AC charger and voltage options, and when a prompt for the factory password appears, enter the standard 2014 password to gain full access to every hidden battery-related settings screen.
Exploring the Rest of the System
Solax builds real depth into these units, and once you’re past the basics, it’s worth exploring a wide range of information tucked into the user manual, since every model has its own option to customise, and it genuinely rewards those willing to explore beyond the initial setup and basic steps.
If you ever need a reset, choosing a new password restores control quickly. On a grid-feed system, three functions are typically configured together: asymmetric power redirection, which you can enable so the unit doesn’t force symmetrical power, generating symmetrically or choosing to produce power unevenly across phases; this is best activated only after you fully install and understand the default state, since it stays disabled until you switch it on.
Producing asymmetrically lets the unit redirect power using the phase unbalanced function, provided there is sufficient generation, so the household isn’t forced to draw energy from elsewhere while it’s producing.
A setting called Pgrid Bias fine-tunes how much power flows to the grid, controlling power exported and preventing unwanted reverse power flow; leaving input 0 effectively blocks any reverse power flow.
Grid Compliance, Protection Levels & Interface Customization
Grid compliance sits behind a regulation level setting, which monitors connection periods and duration, then regulates voltage thresholds according to local network protection levels. These grid voltage parameters follow your region’s network code for safety, and this whole parameterisation step covers the core functions charge, discharge, and self-use across every operating mode and daily operation, all of which you configure once and rarely revisit.
If an error ever causes an annoying beep, you can turn off the disturbing sound the battery makes when it detects a fault; after about 3 seconds of continuous beeps, the function called EPS Mute silences it, and you can set the language and time for the whole interface too.
Scalable Architecture: The X1 and X3 Hybrid Range
Within the app, advanced settings sit apart from basic settings, organised by clear menu points, including a turn system on and off control, sometimes labelled the system on/off option, plus general settings reached through the gear icon.
The home screen shows information at a glance: how much you monitor, current charge level, how many batteries installed, real-time power generation, and other key metrics, giving current status with instant access the moment you’re logged in, using your login credentials to connect to the inverter’s internal Wi-Fi network via the antenna, a QR code to scan, and the top right corner menu for a Local connection or to log out and commission a different app or site.
Physical Bus Wiring
This is really the future of solar: one system where a single user manual and one companion app can oversee an entire one-meter feed, tracking inverters’ energy flow for full monitoring across every connected inverter, whether that’s home-scale energy management or a 100 kW small power station built from 10 X3 hybrid 10 kW inverters.
Each X3 hybrid 10 kW inverter is a 3-phase inverter, part of the broader X3 hybrid line, while the single-phase X1 hybrid covers smaller homes. Together, these make up the high-voltage hybrid inverter range, offered in two versions under the Solax name for flexible energy distribution.
FAQs
Is SolaX a Chinese company?
Yes, SolaX Power is a Chinese manufacturer, founded and headquartered in China, known for its solar inverters and energy storage systems.
Does SolaX work with Octopus Energy?
Yes, SolaX integrates with Octopus Energy tariffs; you can link your API key in the SolaxCloud app for automatic tariff data, including support for Agile and Intelligent Octopus plans.
Is SolaX a good brand?
Yes, SolaX is a well-trusted brand in the solar industry, praised for reliable hybrid inverters, strong battery storage options, and an easy-to-use monitoring app, making it a solid choice for both homeowners and installers.
How much does a SolaX battery cost?
SolaX battery prices vary by capacity and model, typically ranging from around $3,000 to $8,000+, so it’s best to check with a local installer for accurate pricing based on your system size.
Which is better, SolaX or Deye?
Both are strong; SolaX tends to shine with its user-friendly app and smoother backup power (EPS) performance, while Deye is often praised for value pricing. The better choice really depends on your budget and specific energy needs.