

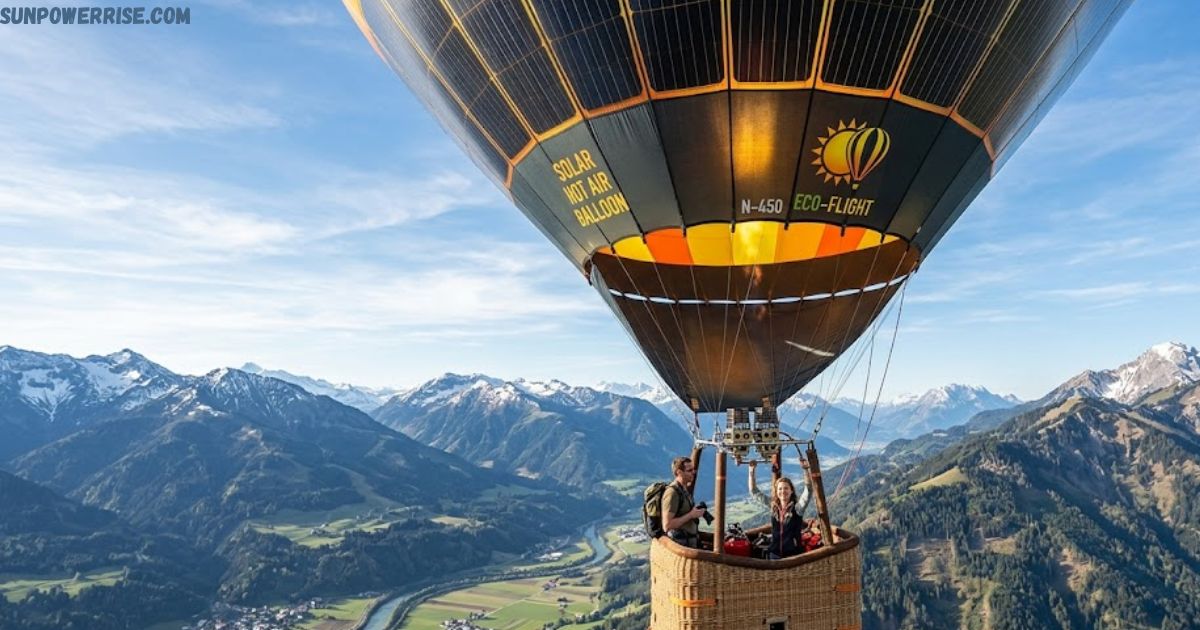
A solar hot air balloon lantern hanging from a tree branch, having a soft flame flicker behind a glass balloon, completely stopped me in my tracks. It was not just a solar lamp or a simple solar light; it felt like something magical floating right in the backyard.
Whether you are looking at a handmade floating balloon made from black plastic trash bags or a decorative solar light with a patriotic design and LED strip inside, both give you that same sense of wonder.
I have seen the rainbow version, the American flag style, and so many other styles and options that people hang in their yard, patio, or garden for a beautiful nighttime glow.
The box they come in often shows multiple designs, and once you see them flickering in the dark with the moon above, you completely understand the glory.
How Solar Hot Air Balloon Works
A solar hot air balloon works in two very different ways: one as a buoyant flying object using heat from the sun, and the other as a decorative ornamental outdoor display that charges during the day and glows at night.
Both versions use sun power and sunlight beautifully, and both give you that signature cool and neat experience that keeps people coming back.
I genuinely believe this is one of the most creative and satisfying solar projects anyone can explore, whether you are a curious beginner or someone with real assembly and build experience.
Materials & Design
For making of solar hot air balloon, you will need four black plastic trash bags, a pair of scissors, cell tape or Scotch tape, and most importantly, a bright sunny day where sunlight and heat are at their strongest.
The airtight seal you create between each bag is everything; without it, the hot air to mass ratio drops, and your lift disappears completely.
For the decorative solar light version, the key physical items include a solar panel on top, an on/off switch, lightweight chains, a hook, and a basket or bucket at the bottom.
The patriotic design on the side gives it a sharp, clean look, while the LED strip inside the glass balloon creates that beautiful flame flicker effect. Always check the chain quality before you hang it. Lightweight chains in a high wind scenario can become a real problem.
The metal frame holds everything together, and the glass balloon part itself is what diffuses the glow so beautifully at night. I personally love how the design and pattern of each option from the rainbow style to the American flag, adds a unique color and variety to any outdoor setup.
Build & Assembly
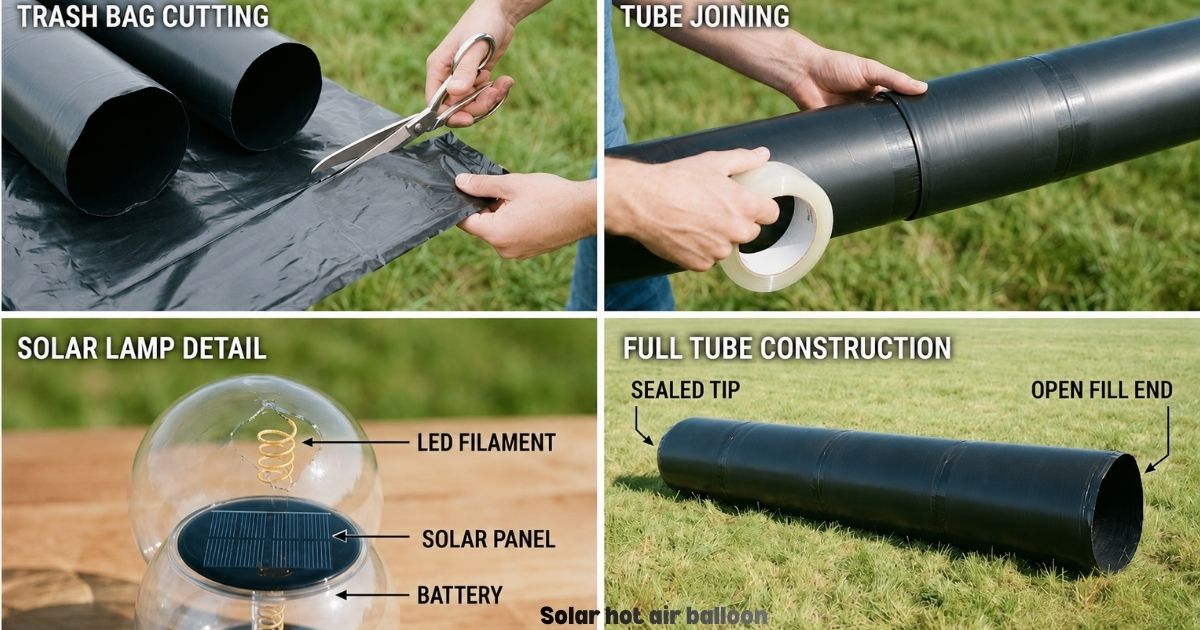
To build your own solar hot air balloon, start by taking one black plastic trash bag and using your scissors to carefully cut the sealed side so both ends become open, turning it into a clean tube.
Do this for two more bags, leaving the last one with its sealed end intact. This becomes the closed tip of your balloon. You will end up repeating this cut, join, and attach process until all your tubes are ready to connect.
Now slide one tube about an inch inside the other, then tape firmly along the seam to keep everything airtight. Take your cell or Scotch tape and run it carefully around the full seam so no air escapes during the fill stage.
Once you attach all sections, making sure the sealed end sits at one side and the open end faces out, your long tube balloon is fully constructed and ready for the next step.
For the solar lamp version, the assembly is much simpler. The LED strip sits inside the glass balloon, the metal frame holds the structure, and the solar panel on top handles all the charging from the sun.
Looking through the crack of the balloon part, you can actually see the strip and understand how the flicker and flame effect works. It is clever, neat, and surprisingly beautiful. Whether you follow a first, second, third, or fourth-step build plan, the core idea of joining, connecting, and keeping things airtight stays the same across both versions.
Filling & Launching the Balloon
Once your balloon is fully constructed, it is time to fill it with as much air as possible, and there are two popular ways to do this effectively.
The first way is to simply run with the open end facing forward, letting natural airflow inflate the tube as you move. The second way, and honestly my favorite, is to use a hair dryer to push warm air directly into the open end, which saves a lot of exercise and fills it up much faster.
Once the balloon feels fully inflated and round, quickly close the open end, seal it tight, and wrap your tape around it until the whole thing is completely airtight.
The goal here is maximum air retention so the heat from the sun can do its job, warm the trapped air, and build enough lift to make the balloon buoyant. Getting this seal right on the first attempt makes the launch so much more satisfying.
Once sealed, the hot air inside begins to work with the sun and heat outside to slowly make the balloon lighter, more buoyant, and ready to float and rise. The moment it breaks gravity and starts to lift off the ground, you feel this incredible rush.
I have watched this happen one, two, even three times in a row just to feel that same excitement. The fill, close, seal, and launch sequence is simple, but the result is genuinely one of the most satisfying things you can do on a warm, bright, sunny day.
Placing It in Sunlight
Finding the right outdoor placement for your solar hot air balloon makes a huge difference in how well it performs. For the handmade version, you want direct sunlight to hit the black plastic bags fully.
The dark color helps the bags absorb the sun’s heat quickly, which warms the air inside and builds lift. I always recommend placing it in the midday sun when light and heat are at their strongest, so the balloon becomes buoyant and starts to rise as fast as possible.
For the decorative solar light version, a tree branch looks absolutely stunning, but make sure that spot gets enough sunlight during the day for proper charging.
If the tree puts your balloon in too much shade, consider moving it to a shepherd’s hook at a better angle so the solar panel gets full sun power all day. I made the mistake of hanging mine under a heavy tree on day one. By day two, it barely glowed because it had not charged enough, so placement really is everything.
Imagine four, five, or even six of these beautiful solar balloons hanging at different heights and angles around your yard or patio.
The effect is absolutely breathtaking at night. You can mix permanent setups on shepherd hooks with hanging ones on tree branches to create a layered, floating display that catches everyone’s eye.
Whether your outdoor setup is cool and minimal or big and dramatic, making sure each solar hot air balloon gets enough sun during the day is the one non-negotiable rule for a great nighttime glow.
Nighttime Display
When night finally falls and the moon comes out, a fully charged solar hot air balloon light puts on a display that is genuinely hard to describe.
The LED strip inside the glass balloon starts to flicker in a way that mimics a real flame, creating this warm, living glow that makes the whole tree or shepherd hook setup look magical.
On day two of my own setup, I walked around to the other side of the house and could still clearly see the light, which kind of visibility from far away really tells you how well these work.
The floating effect of the balloon combined with the soft flicker of the flame inside; makes it look like a real hot air balloon drifting quietly through the dark.
Picture four, five, or six of these at different heights on a shepherd’s hook or branch system; the ambiance and decorative outdoor lighting effect would genuinely rival any professional garden or patio display.
The fact that all this glow and flicker comes purely from daytime sunlight charging through the solar panel makes it even more impressive. No wires, no plugs, no running costs, just sun, solar, charge, and night glow working together in perfect harmony.
Whether it hangs from a branch, sits on a hook, or becomes the centerpiece of your outdoor nighttime ambiance, the lighting effect of a solar hot air balloon lantern never gets old.
FAQs
Can a solar hot air balloon actually fly on its own using sunlight?
Yes, a homemade solar hot air balloon made from black plastic trash bags can actually float and rise using the sun’s heat to warm the air inside and create enough lift to break gravity.
How long does a solar hot air balloon light stay on at night?
A fully charged solar hot air balloon light can glow through most of the night as long as the solar panel received enough direct sunlight and sun power during the day to complete a full charge.
What is the best place to hang a decorative solar hot air balloon lantern?
The best outdoor placement is a spot with maximum direct sunlight such as a shepherd’s hook in an open yard or patio, rather than under a heavy tree where shade can block the solar panel from charging fully.
What materials do I need to make a homemade solar hot air balloon?
You only need four black plastic trash bags, a pair of scissors, cell tape or Scotch tape, and a bright sunny day to build and successfully launch your own solar hot air balloon at home.
Are solar hot air balloon lanterns available in different styles and designs?
Absolutely. Solar hot air balloon lanterns come in tons of different styles, varieties, and designs, including rainbow, American flag, and patriotic options, all widely available to purchase or buy online through platforms like Amazon.